What you will need:
|
1
|
If you haven't already, purchase a Picture Checklist activity. Pay securely at PayPal.com using any major credit card. A PayPal account is not required.
| |
|
2
|
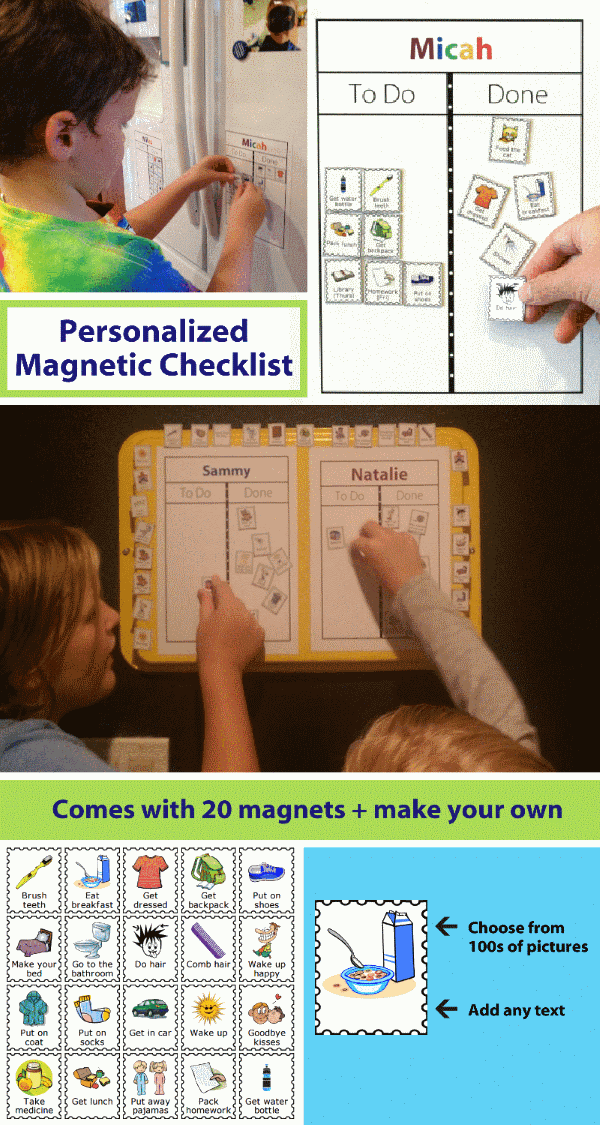
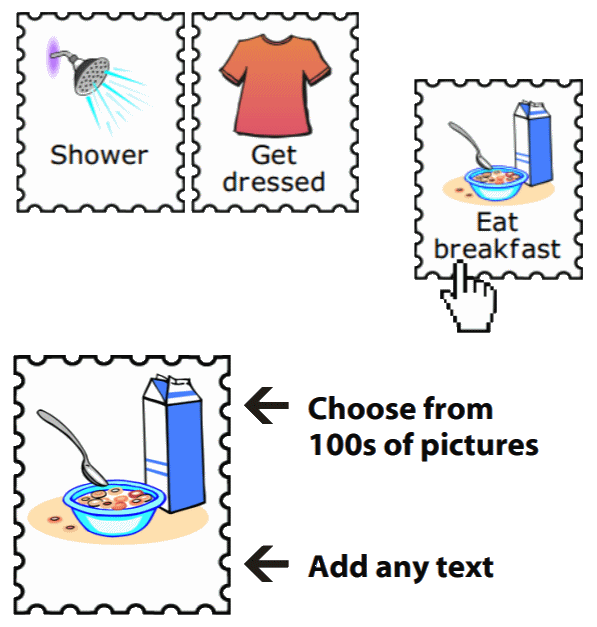
Navigate to the list you purchased to choose the pictures and write the text for your picture clips.
 | ||
|
3
|
Print your picture clips on regular paper. Tips
You can also save your picture clips as a PDF and take it to Kinko's or Staples to have it printed for you - this is a great way to get your picture clips printed in color if you don't have a color printer.  | ||
|
4
|
Cut your printed pages in half following the solid line in the center of the page.  | ||
|
5
|
Laminate your 1/2 sheet page. You can use a laminator if you have one,
or use the
self-laminating sheets. One self-laminating sheet can be cut in half to create 35 small picture clips, or 12 big ones. Turn the self-laminating sheet over, find the middle line (6th from the 'peel off here' label), and cut along this center line. Peel off the backing on the bottom half of the adhesive sheet (the side that does NOT contain the 'peel off here' label). Carefully place your 1/2 sheet of printed picture clips on the exposed sticky laminating sheet. Avoid making bubbles, and press out any little ones that form. Place your picture clips with the paper side facing up on a flat surface. Take the remaining self-laminating sheet and gently peel up just a bit of the edge all along the 'peel off here' line. With one hand, press the 'peel off here' tab face down against the flat surface and right next to the edge of your printed picture clips With the other hand, slowly peel away the cover from the plastic laminating sheet, pressing down and smoothing out bubbles as you peel and stick the self-laminating sheet onto your printed paper.  | ||
|
6
|
Cut out each clipart square with regular scissors.
|  | |
|
7
|
Use your picture clips with a To Do / Done Board. You can
print your own and laminate it, or you can
buy a pre-printed one.
|  | |
|
8
|
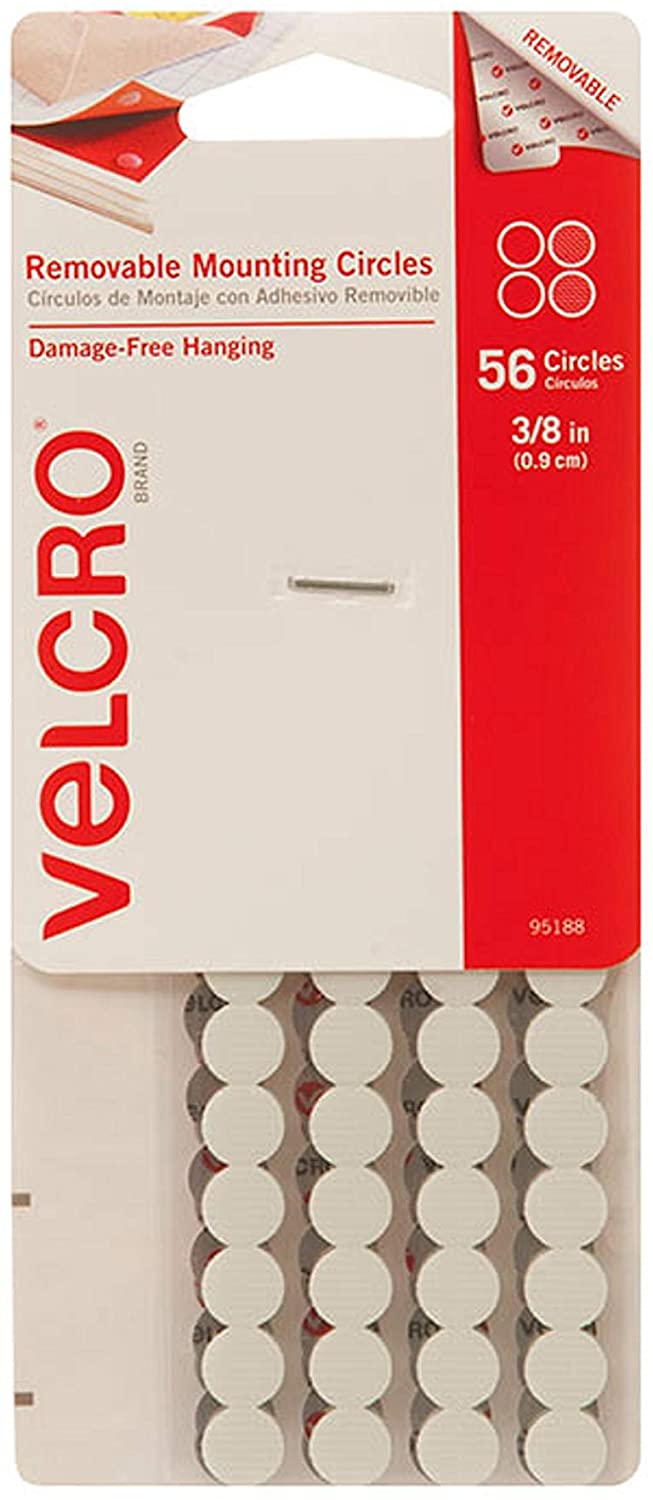
Place adhesive
hook & loop circles (or strips) on the back of each of your picture clips. Using the soft
side of the hook & loop circles makes them the most comfortable for grabbing and moving them.
|  |
| The Trip Clip® - Morning Routine, Bedtime Routine, After School Checklist, Chore Chart, Picture Grocery List, Mazes, Car Bingo, Travel Activities, & More | |
| Reviews | Product Safety | Privacy Policy | Terms of Service | Return Policy | Help | Contact Me Copyright 2009-2026 I Spy a Family, LLC, doing business as TheTripClip.com. All rights reserved. | |


|
|